Difference between revisions of "Use the Live USB"
Jump to navigation
Jump to search
m |
|||
| Line 9: | Line 9: | ||
#Give the XUbuntu desktop a few minutes to load | #Give the XUbuntu desktop a few minutes to load | ||
#To help you get started, look in the Docs directory on the desktop for the Archivematica workflow instructions document. | #To help you get started, look in the Docs directory on the desktop for the Archivematica workflow instructions document. | ||
| − | #IMPORTANT: To shut down Archivematica, go to the top right of the screen and click on the quit button. | + | #IMPORTANT: To shut down Archivematica, go to the top right of the screen and click on the quit button. Click the 'Shut Down' button. Give XUbuntu a few minutes to shut down. |
| − | Click the 'Shut Down' button. Give XUbuntu a few minutes to shut down. | ||
[[File:ShutdownMouseOver.png|right]] | [[File:ShutdownMouseOver.png|right]] | ||
Revision as of 17:05, 21 May 2010

Archivematica can be run as a Live USB.
- Shut down your PC or laptop and insert the Archivematica USB key.
- Make sure no other devices are plugged into your USB ports
- Turn on your PC and hold down the key which brings up your computer's boot menu. This is usually F12. As you computer BIOS loads it will typically notify the user (briefly) which key(s) to press to enter the boot menu.
- Choose the boot from USB option
- Give the XUbuntu desktop a few minutes to load
- To help you get started, look in the Docs directory on the desktop for the Archivematica workflow instructions document.
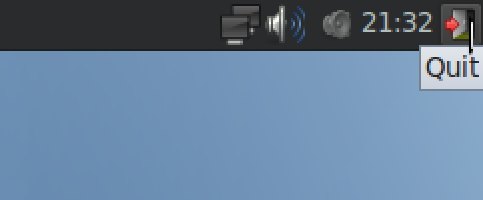
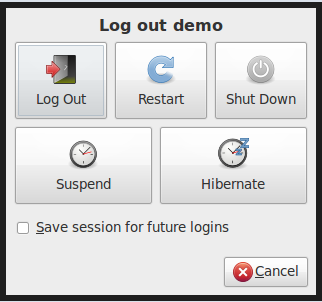
- IMPORTANT: To shut down Archivematica, go to the top right of the screen and click on the quit button. Click the 'Shut Down' button. Give XUbuntu a few minutes to shut down.


There are some known limitations with using a Live USB on Macs and older PCs.
You can download and create your own Archivematica Live USB.