Difference between revisions of "Use the Live USB"
Jump to navigation
Jump to search
| Line 3: | Line 3: | ||
Archivematica can be run as a [http://en.wikipedia.org/wiki/Live_USB Live USB]. | Archivematica can be run as a [http://en.wikipedia.org/wiki/Live_USB Live USB]. | ||
| − | + | #Shut down your PC or laptop and insert the Archivematica USB key. | |
| − | + | #Make sure no other devices are plugged into your USB ports | |
| − | + | #Turn on your PC and hold down the key which brings up your boot menu (usually F12) | |
| − | + | #Choose the boot from USB option | |
| − | + | #Give the XUbuntu desktop a few minutes to load | |
| − | + | #Look in the Docs directory on the desktop for the Archivematica workflow instructions document. | |
| + | |||
| + | There are some [http://en.wikipedia.org/wiki/Live_USB#Limitations known limitations] with using a Live USB on Macs and older PCs. | ||
| + | |||
| + | You can [[download]] and create your own Archivematica Live USB. | ||
Revision as of 19:58, 19 May 2010

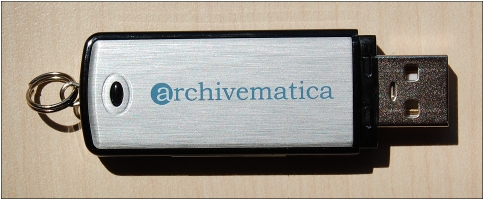
Archivematica can be run as a Live USB.
- Shut down your PC or laptop and insert the Archivematica USB key.
- Make sure no other devices are plugged into your USB ports
- Turn on your PC and hold down the key which brings up your boot menu (usually F12)
- Choose the boot from USB option
- Give the XUbuntu desktop a few minutes to load
- Look in the Docs directory on the desktop for the Archivematica workflow instructions document.
There are some known limitations with using a Live USB on Macs and older PCs.
You can download and create your own Archivematica Live USB.